The ISAC β-NMR HomePage
| Introduction to β-NMR |
Publications |
Students Projects |
Contacts |
| Technical Information |
Data Acquistion |
Approved Experiments |
Internal Page |
| Related Links |
BNMR Wiki |
Data Analysis |
Photo Album |
|
|
Next: With the telescope Up: Alignment of the cryostat Previous: Alignment of the cryostat Contents
With Flash light
|
|
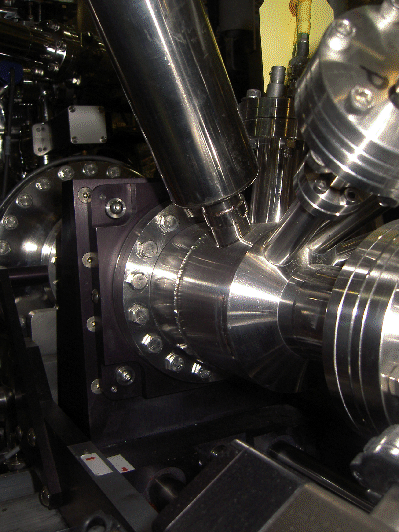
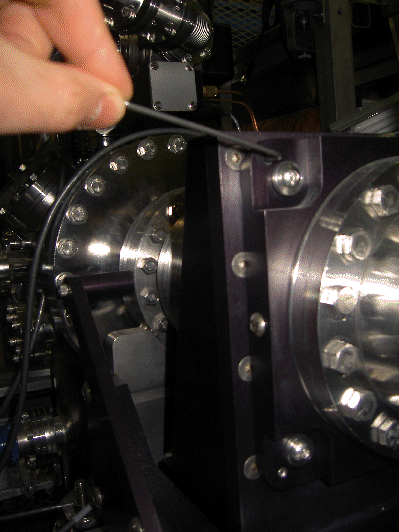
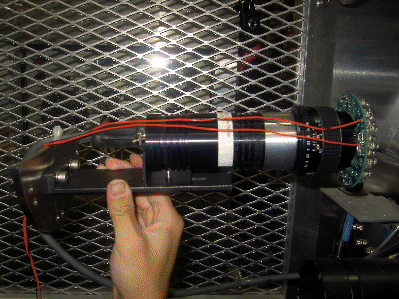
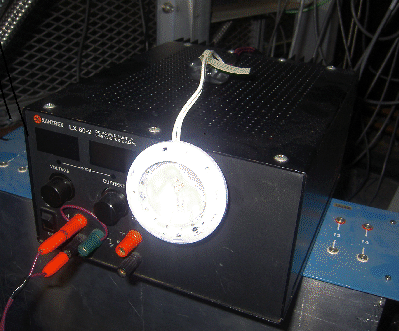
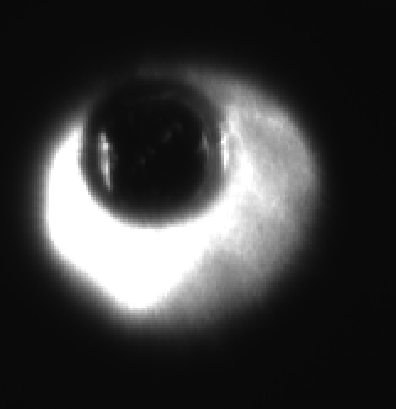
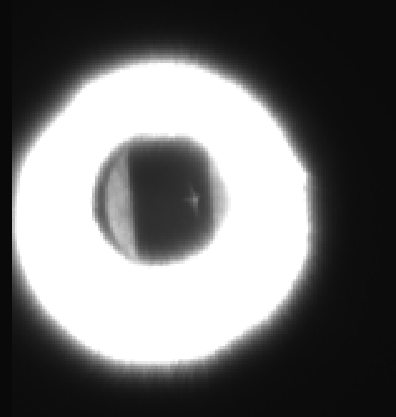
4.1We have noticed that the cryostat dis-aligns each time after mounting a sample. So, it is very practical to take a flash-light picture after each mounting to make sure that the cryostat did not move. To do that place the flash-light in-lieu of cover of the hole close to the telescope. Connect the camera to the computer with appropriate wire (labeled BNMR). Take a picture of the cryostat with the flash-light on (don't forget to turn it off after you are done with it) using a time exposure of
Next: With the telescope Up: Alignment of the cryostat Previous: Alignment of the cryostat Contents BNMR Web Site 2006-06-29
Page last modified: 07/23/09 02:45 by Andrew MacFarlane.